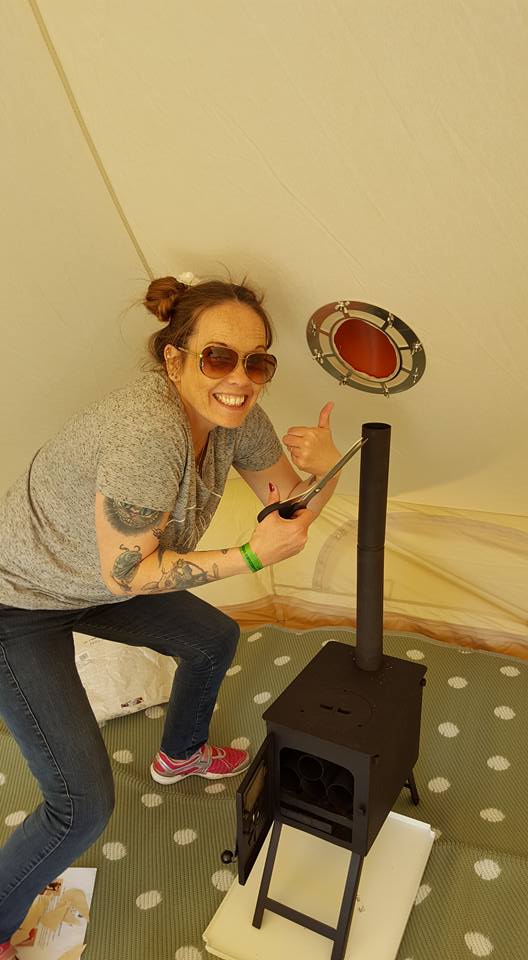
Making the cut! Advice for installing your Flashing Kit

So you’ve finally got your Glawning and you’re eager to install the stove! Where to place it is up to you, a chance to make this Glawning truly your own and suit the way you want it to work. But before you make the cut into your pristine canvas to install the Flashing Kit, here are some tips to consider:

As always you must consider safety first. The stove is going to be hot when lit so it must be kept clear of any obstructions. We advise a minimum of at least 1.5 metres between the stove top and the canvas directly above; try to avoid placing it right at the edge of the Glawning. We have full instructions on how to cut the hole here on our website which we suggest you read in full before beginning. And here is a video of our very steady handed customer Tony Smith cutting his, cool as a cucumber.
You'll need to get your bits and pieces together: decent scissors or Stanley Knife, marker pen, screwdriver, measuring tape, glamorous assistant, dramatic music, a beer etc.
There’s no need to rush. You’re going to have your Glawning for a while. Unlike nylon awnings it won't have blown away or torn in half within a year. So it’s worth experimenting ahead of time with different layouts inside and considering various options for where you’ll prefer the stove to be placed. Take your time and make the cut one weekend in the garden or a local field. Think about what furniture you'll be bringing, and where it will need to go. If you're bringing a nice big inflatable airbed like this one you need to position the stove far enough away from it so as not to present a fire risk. Also, think about where you'll be sitting to enjoy the fire and how many friends and family are likely to want to come too (probably significantly more than when you had your crappy nylon awning).

We have had our stove in a variety of different positions over the years and we can recommend keeping it in one of the back four panels away from the Glawning doors.


A fire near the middle of your Glawning might appeal to you as a cosy centrepiece, and for even distribution of heat, just make sure to remember that when assembling the flue, the spark arrester on top must be fitted from outside. This is not impossible, but can be a tad tricky if you’ll be erecting the Glawning without a tall assistant to help. Offsetting the stove to be closer to the edge might be worth it to take some of the hassle out of the task.

If you desire flexibility in the layout of your Glawning and want to have more than one possible position for your stove an option to consider might be to buy another flashing kit and install it in a second position - allowing you to alternate the location as you see fit. The one not in use can simply be plugged as you would on the occasions where you opted to go without the stove. "What can I use to plug the hole?" I hear you cry. Anything really! We've seen it plugged with an empty water bottle/coke can, a tennis ball, you name it. Just find something roughly the same girth as the hole and shove it up there, so to speak. One of our customers even makes Glawning portholes (perspex covers for the hole when you're not using the stove) if you so desire. Here's one in situ below:

If you really don't like the idea of cutting your canvas you're not alone. Perhaps you have a friend who might do it for you. In the olden days when we (Mr and Mrs Glawning) used to attend all the shows ourselves James used to come and fit flashing kits for anyone a bit nervous about it. If you were a recipient of this stellar customer service maybe you could take a few seconds to vote for us here in the Customer Service category of the Yorkshire Choice Awards!
Regardless of who ends up cutting your hole, don't forget to have some fun with it and get the obligatory 'Face in the Hole' pic. Obvs.


When you've finished and breathed a sigh of relief pop over to our glawning owners facebook page where you'll receive a virtual pat on the back and a sticker congratulating you on your hole cutting achievements!
And here they are. Our customers bravely cutting their flue holes like bosses:


Nice work, everyone!


Leave a comment