Reproofing A Canvas Tent: Why, When & How?
Why does my tent need reproofing?
Reproofing your tent is really important because it creates a waterproof barrier that will allow you to continue to use your tent without fear of incoming heavy rainfall. It also provides a shield from harmful UV rays that can break down and weaken the canvas over time.
Is your tent starting to more closely resemble a swimming pool than a gorgeous glamping boudoir? If so, it’s probably time for some reproofing.

When does my tent need reproofing?
Exactly when your tent will need reproofing will depend entirely on how often you use your tent and how often it gets wet.
If you find that water is starting to come through the canvas on your camping trips it could mean that your tent needs reproofing.
Here’s a really easy experiment to tell if your tent needs reproofing:
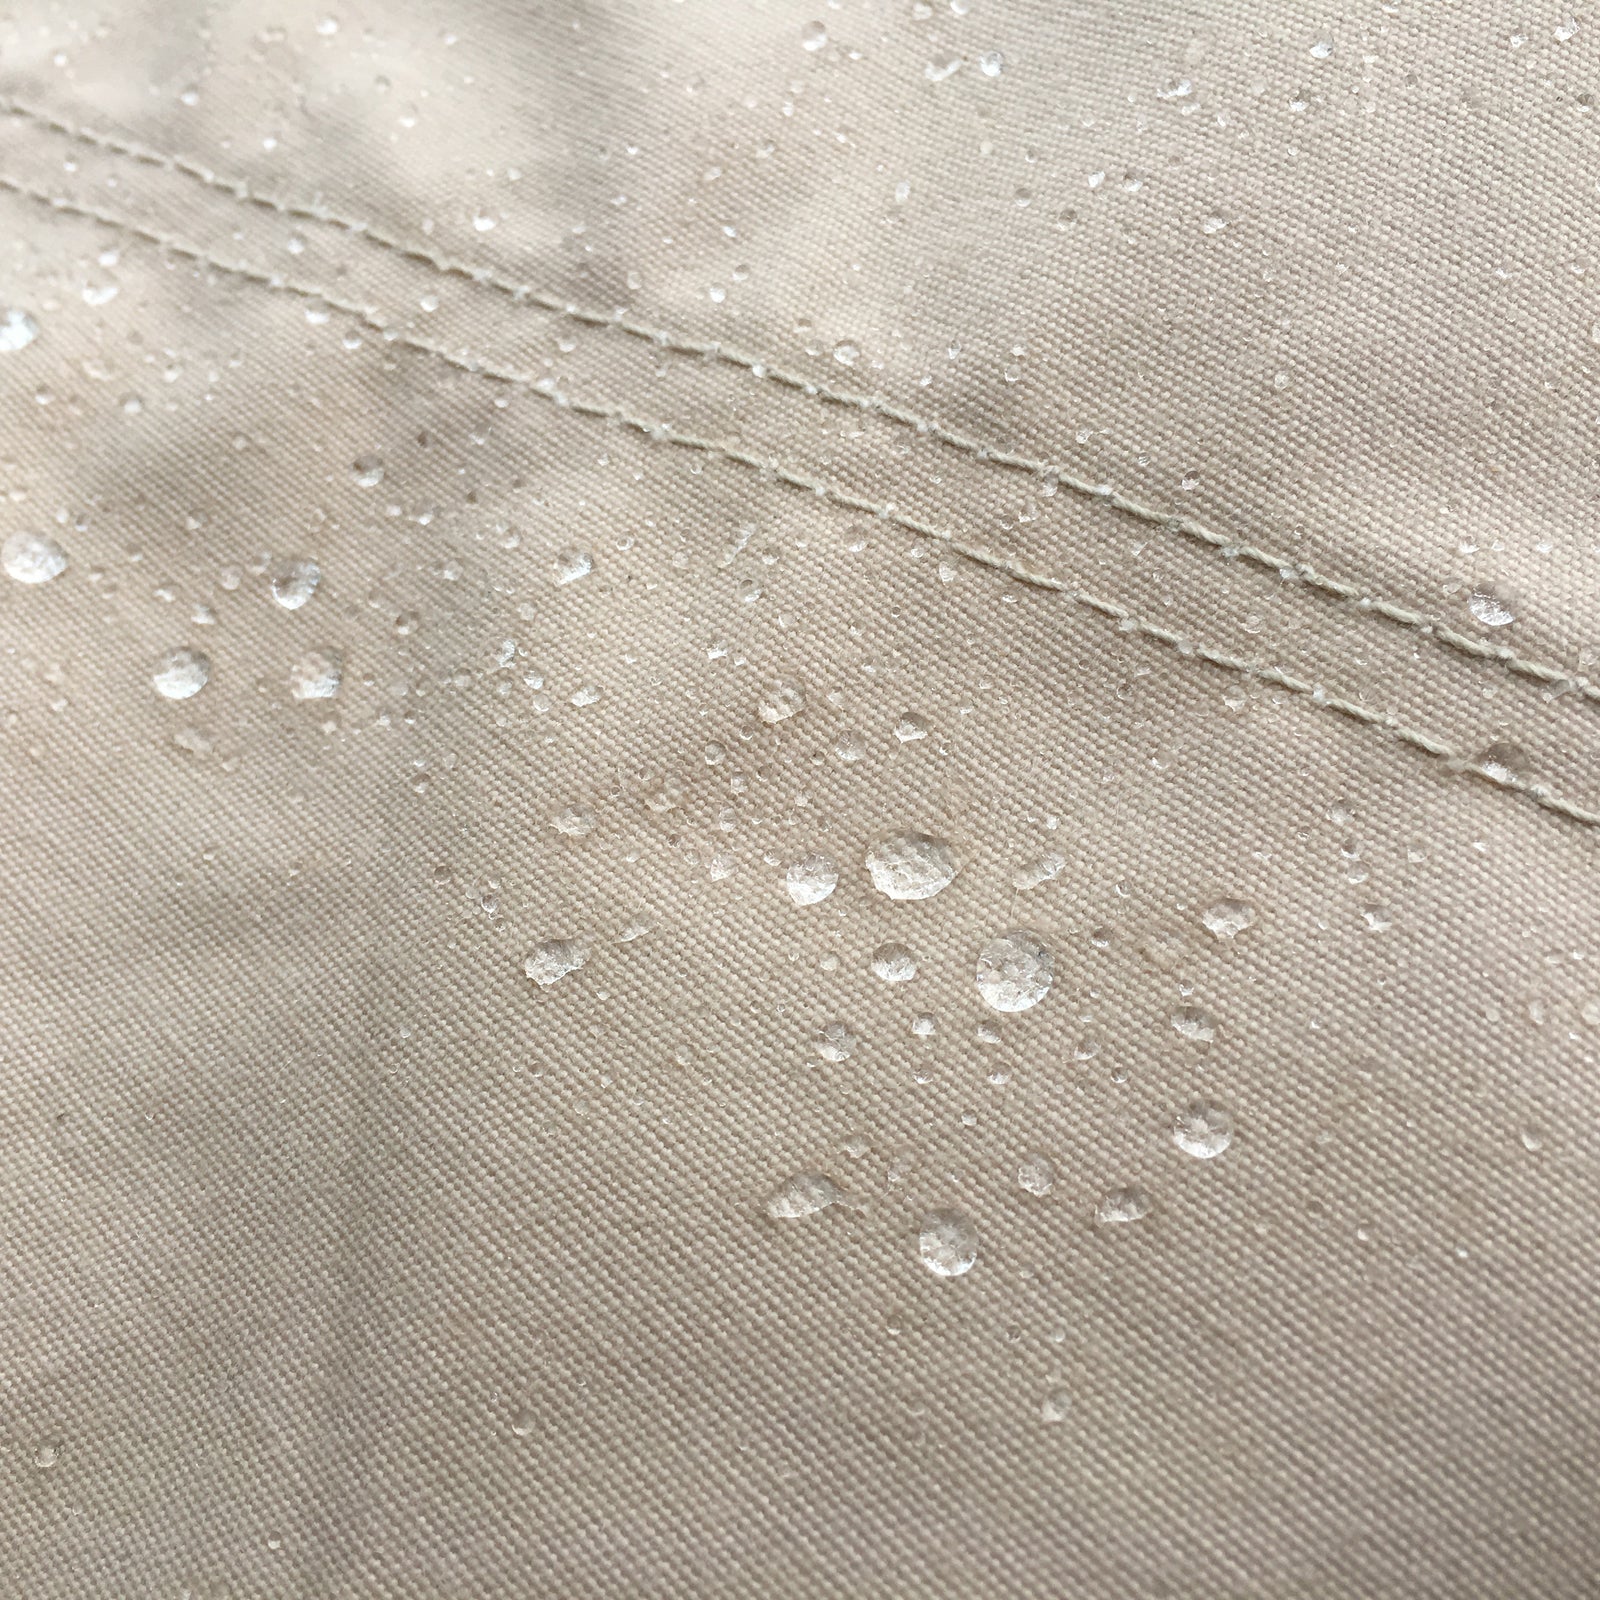
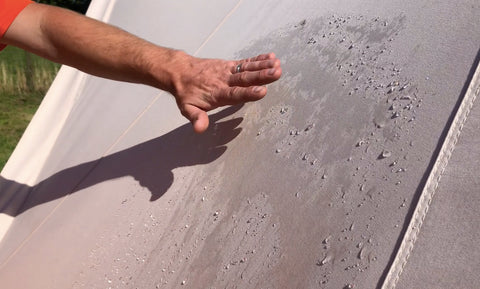
If you pour a glass of water on the side of your tent does most or all of the water bead off the tent or does some of it soak into the tent straight away creating a damp patch? If the water just beads straight off then don’t worry, your canvas doesn’t need reproofing just yet! But if the water doesn’t bead off but penetrates into the fibres of your canvas and leaves a damp patch — it’s time to reproof!
Watch our video guide on weathering a canvas tent and skip to the section on reproofing to see how you can recognise when the time for a reproof has come.
How do I reproof my tent?
Reproofing is really straightforward, just wait for a dry day and follow these 4 easy steps to get the job done in around 15 minutes:
You will need:
- A garden or outdoors area to set up your tent
- A tin of Granger’s Fabsil Waterproofing Treatment (you can also buy cans of Fabsil for a quick spray top up in between reproofs)
- A garden pump pressure sprayer*
- Set up your canvas tent ready for reproofing or do it during a camping trip (ensure the canvas is completely dry).
- Fill your garden pump pressure sprayer with Fabsil.
- Spray the Fabsil over your tent, coating it evenly.
- Leave it to completely dry.
*We don’t recommend you use an expensive sprayer or one you're particularly fond of as the chemicals in the Fabsil can permanently coat the inside of the sprayer making it unusable afterwards — be warned. If you don’t want to buy a sprayer to do the job or potentially ruin the one you do have, you can paint the fabsil straight on, but this will take you a lot longer.
Note: You don’t need to treat your brand-new tent with waterproofing treatments, all you need to do is naturally weather the canvas just like it says in our guide, here. This guide is only for well-seasoned tents: come back in a couple of years!
Sounds simple how about a spray bottle to apply and what quantaties, is one application sufficient?
How much fabsil??
Leave a comment