5 Rules for Packing Away a Glawning
Packing away after your glamping trip can leave you feeling a little blue: your holiday is coming it its end, you've got to pack everything away, and getting the awning back in the bag shouldn't have to be a mammoth task.
We've come up with these 5 rules to try and make your life easier and packing away more glam...

1) Make sure the canvas dries out…
Now this doesn’t mean you have to wait hours for your tent to dry before packing it away; it just means that if you do pack it away wet or damp, we recommend that you lay it out inside when you get home (or, if the weather has improved, put it up in your garden) so it can dry out. This is the best way to prevent mould & mildew from starting to develop and to help extend the life of your canvas. Top tip: lighting a stove can really speed up the drying process. (If mould & mildew do start to develop, follow our guide: here.)
2) Empty out your stove…
Try to empty as much cold ash and soot from the stove into a bin or firepit as you possibly can when packing it away. You’ll thank yourself when you unpack it again next time and you don’t make a total mess. We also sell stove bags so if you’ve got a GLOW stove and don’t already have a bag for it — get one — it’s really handy having a designated bag that you don’t mind getting a bit sooty.

3) Pay attention to how you unpacked the glawning…
Our number one tip for packing away is to watch closely how you unpacked it the first place. Maybe take a video of yourself unpacking it when you first get the glawning, so you know exactly how everything unfolds and use this as a video guide for packing away. Once you’ve done this a few of times and mastered the art of kneeling on it to expel air you’ll be a dab hand at packing away. There are lots of threads on our Glawning Owners' Facebook Group on best ways to get it all back in the bag!


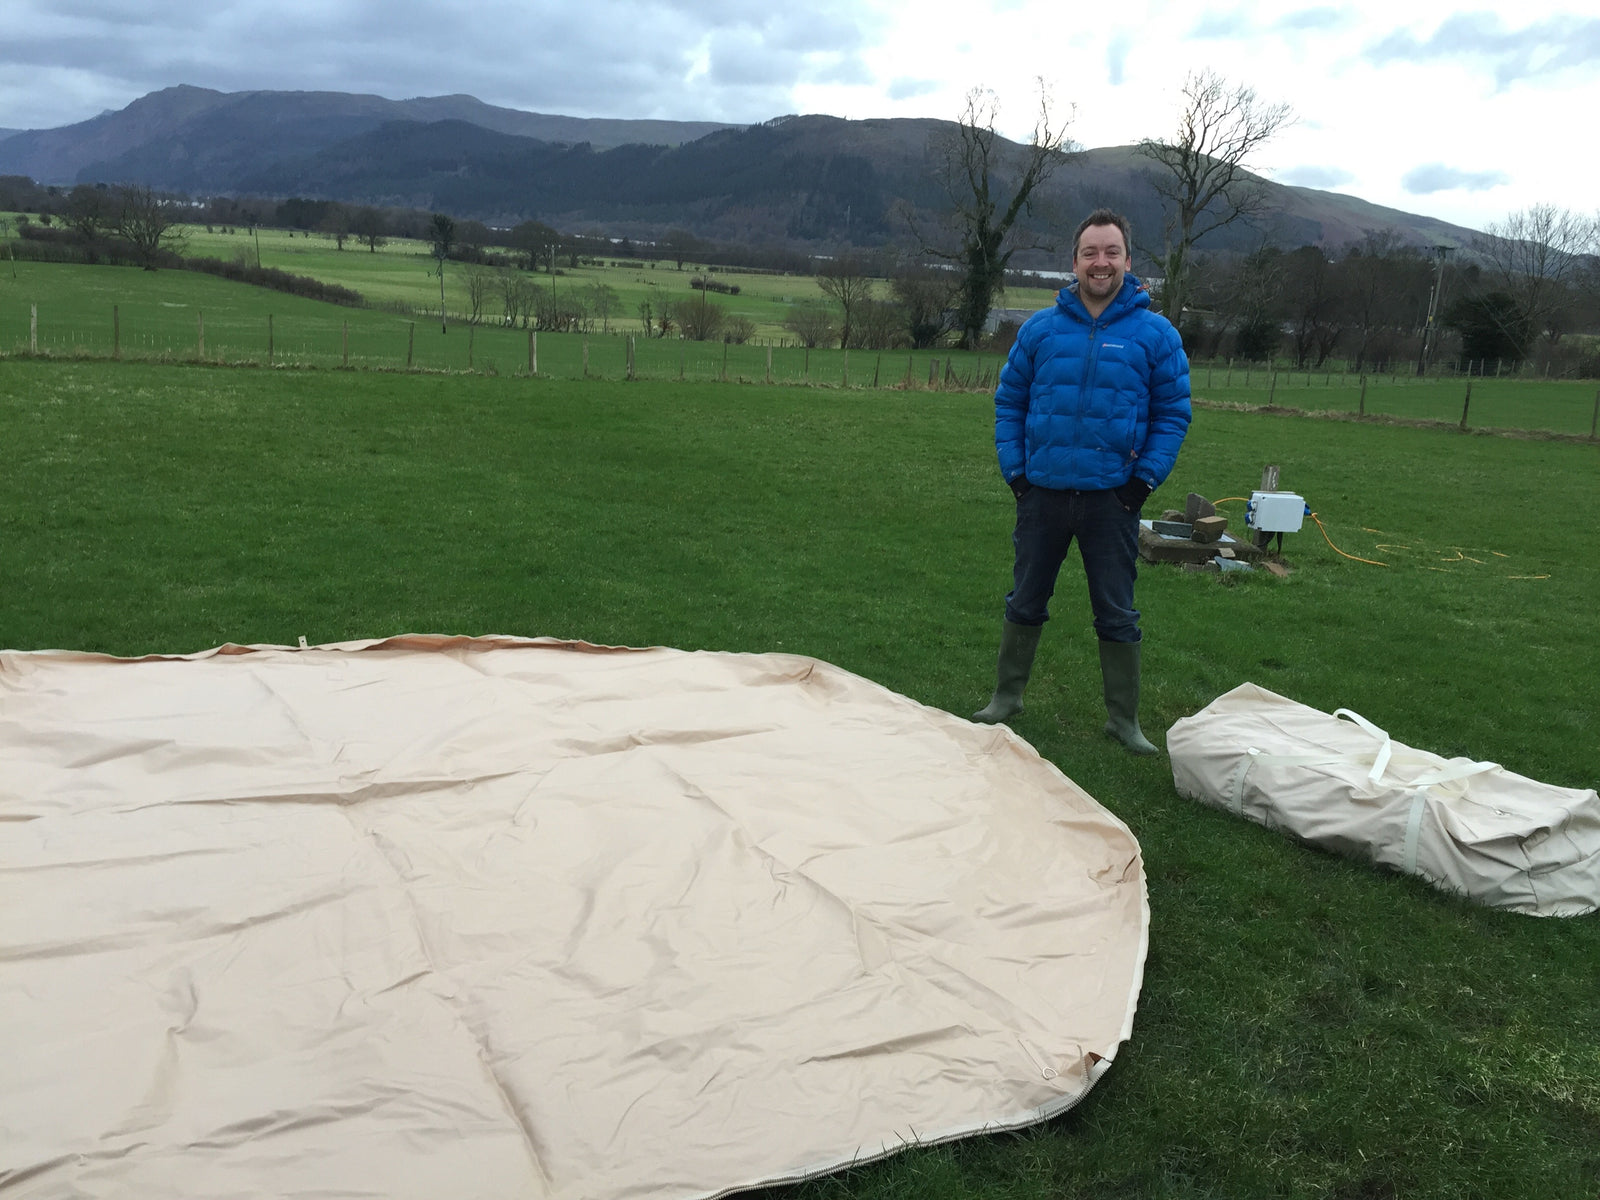
4) Pull the bag down onto the folded glawning…
We’ve found this method a lot easier than lying the bag on the ground and trying to squash the glawning back in. Once you’ve folded the glawning, put the bag on top and pull the bag down over it. Then flip it over and zip up! Try this method out and see if you find it works better for you too.

5) Don’t force it…
Sometimes, for whatever reason, things just won’t fit! When this happens don’t try to force everything into the bag and zip it up when it just doesn’t want to as you are risking ripping the bag in the process. Consider storing the components separately to make life easier.
Here's a short video to help you fold:
Comment down below to add any tips or tricks you’ve had when packing away your glawning…
Leave a comment