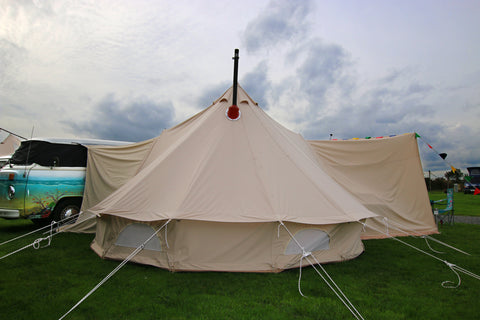
Location, Location, Location… Where Do I Put My Camping Stove?

You’ve got your wood-burning stove and can’t wait to make your canvas bell-tent the cosy, hygge paradise you’ve always wanted. You’re ready to install your flashing kit and now you’re wondering — where should the camping stove go?
There’s no one way to do this and we’ve seen camping stoves installed pretty much everywhere in our glawnings. We think you should do what makes sense for you, but we’ve thought of some things you might want to consider when finding a permanent home for your stove.
Here are some pros & cons for each camping stove location:
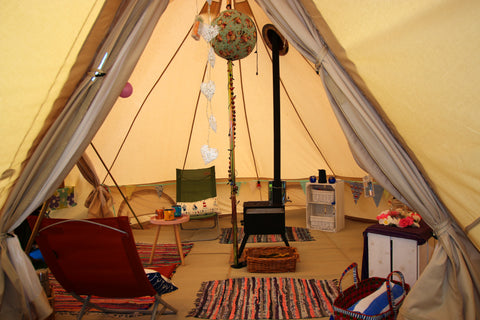
Next to the central pole…
Pros:
- Probably the safest place to put the stove as the stove itself will be nowhere near the outer canvas.
- If you have children or pets and want to keep them the stove shielded from them using a cage or fire guard then the middle of the tent might make the most sense to give plenty of room around the stove.
- Having the camping stove in the middle of your tent means even distribution of heat, and there will be more flue inside the tent, making it easier and quicker to heat.
- If you like to cook, this can be a good location to set up a chair next to the stove while you’re cooking on it.
Cons:
- If you or your tent companions are likely to grab the flue thinking it's the central pole due to their close proximity you may want to rethink this location.
- If you need to fit a bed in there too, maybe the centre of the tent wouldn’t be the most space effective location for your camping stove.
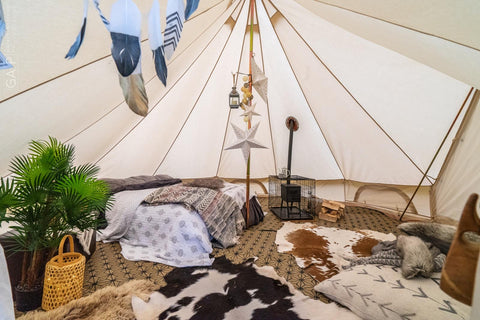
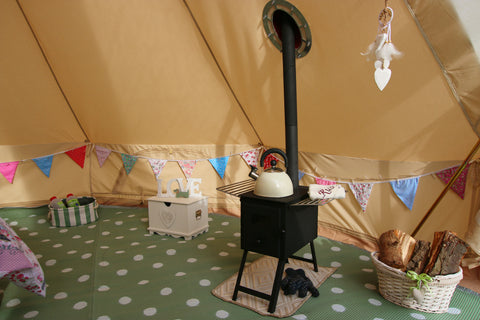
Near the sides of the tent…
Pros:
- You’ll have lots of room in the middle of your tent & it’ll be easier to keep your log pile and any fire accessories tucked away to the side.
- Easier to install the spark arrestor on top of the chimney, as it’s easier to reach.
Cons:
- Having the stove too close to the flashing kit may reduce its lifespan so we always recommend that you install your chimney to allow for at least 1m of chimney to be inside the tent — if you decide to place it further towards the side, you do so at your own risk.
- A lot of the heat comes from the chimney flue: if more of your flue is outside the tent then more heat will be lost.
- Also, in cold weather having more of the flue outside the tent can mean that the smoke cools too quickly and causes tar to build up over time inside the flue.
- If you want to cook using your camping stove, you’ll have less space to do that in.
- If being able to stand up next to your stove is an important consideration for you, maybe avoid this location.
Near the door…

Pros:
- It uses “dead space” (space that’s not usually used for other things such as chairs and beds).
- It’ll look really nice from the outside.
Cons:
- If your doors are open a lot, having the camping stove close to the door will mean more heat is lost.
- Putting your stove close to the doors might mean it gets in the way of people going in and out of your tent.
We suggest that before installing the flashing kit, you place the camping stove in different locations around your tent for a while with all your normal furniture in there and find a spot that feels right & suits you best.
When you’re ready to cut your hole, follow our guide: here.
SAFETY FIRST:
If you have a camping stove in your tent you should always ensure that you keep the tent well ventilated (if both doors are closed open a couple of the ventilation flaps on the vertical wall of the glawning) and that you have a carbon monoxide alarm just in case. Always ensure that you have an adequate means of extinguishing the fire in an emergency and always make sure that the fire is complete extinguished before you go to sleep. The stove can get extremely hot so caution should always be taken to protect the tent beneath as well as children and animals who might touch the stove. We also recommend not using the stove in extremely windy weather. Other accessories you may wish to consider are a heat mat, stove multi tool, lid lifter, and fire gloves
Leave a comment