
Fitting the flashing kit to your stove jack
Applies to:All Glawnings from about 2022
In short
Every Glawning since around 2022 has a fire-retardant stove jack already fitted. You add a few bolt holes for the 45-degree silicone flashing kit, trim the flashing a little at a time so the double-wall flue fits snugly, then pass the flue through.
Watch the videos
You might need
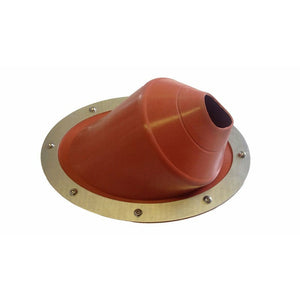 45 Degree Tent Stove Flashing Kit£49.99
 Double Wall Flue Pipe for Stove Flue 80mm or 60mm (select drop down)From £28.99
 Stove Fitting Kit Bundle 2026 (platform & flashing kit)£119.00
Was this helpful?
Thanks for letting us know.
Sorry about that. Tell us what was missing and we'll improve this guide.
Last reviewed 8 October 2026